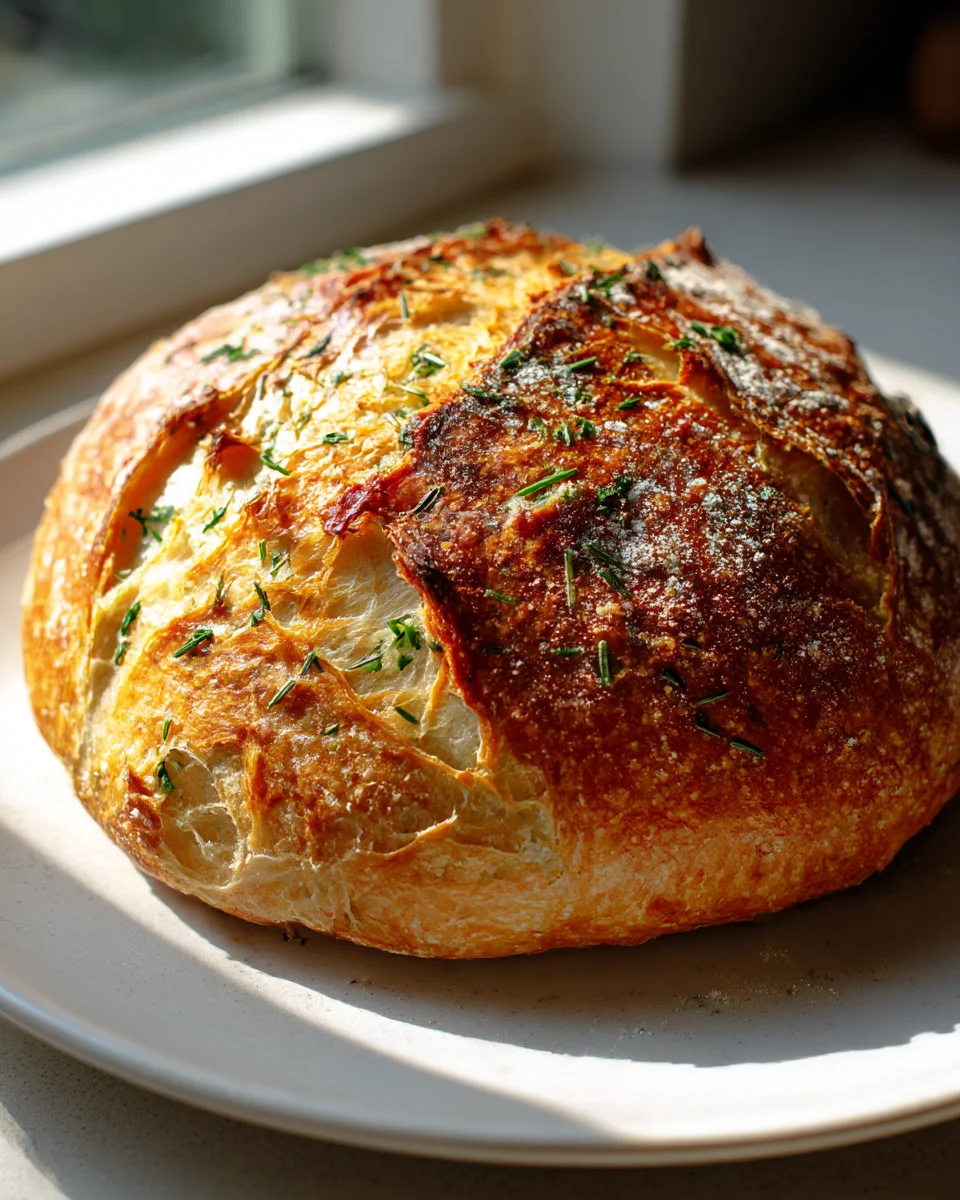
One rainy afternoon, I found myself cozied up in my kitchen, the aroma of fresh garlic wafting through the air. The raindrops tapped softly against the window, creating a soothing soundtrack as I prepared my favorite comfort food: Garlic Herb Dutch Oven Bread. This isn’t just any bread; it’s the kind that wraps you in warmth, like a hug from an old friend. I remember the first time I pulled a golden crusty loaf from the oven, steam curling up like a gentle whisper, the scent of garlic and herbs so intoxicating that I could barely wait for it to cool.
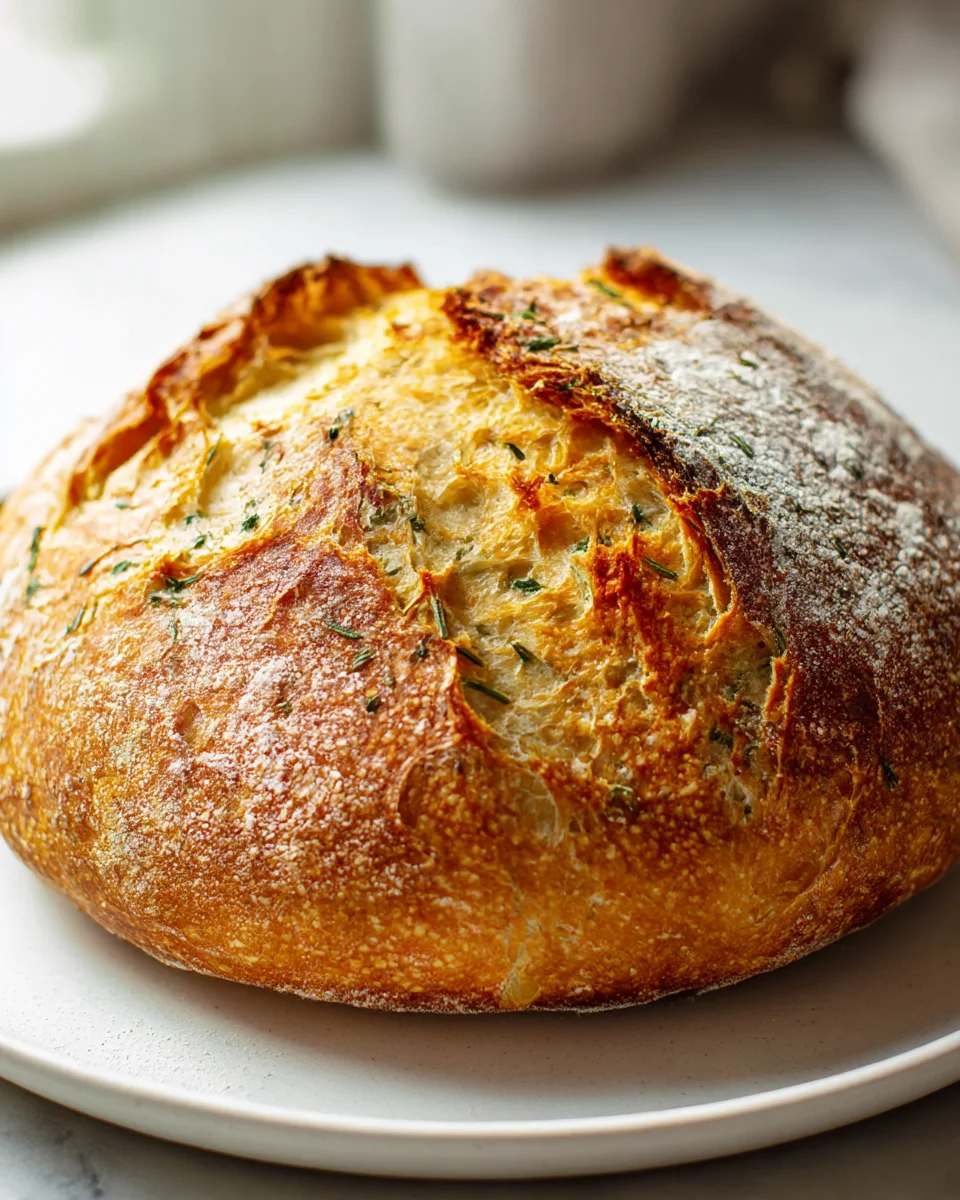
When you slice into it, the crust crackles delightfully, revealing a soft, airy interior that’s dotted with vibrant flecks of fresh herbs and roasted garlic. Each bite is an explosion of flavor—a perfect balance of savory, earthy notes that pairs beautifully with a pat of creamy butter or a hearty soup. This bread doesn’t just fill your belly; it fills your soul.
What makes my version of Garlic Herb Dutch Oven Bread stand out is the careful blend of herbs I use—thyme, rosemary, and a hint of oregano—combined with a touch of olive oil for richness. This recipe is all about simplicity and the joy of creating something magical with just a few ingredients. It’s perfect for sharing at family gatherings or for those quiet evenings at home.
Let me show you exactly how to make it.
Why You’ll Love This Recipe
- Crusty on the outside and soft on the inside, this bread has the perfect chewiness that makes it irresistible.
- Infused with aromatic garlic and fresh herbs, each bite is packed with flavor that elevates any meal.
- Requires minimal hands-on time and just one pot, making cleanup a breeze—perfect for busy weeknights!
- Budget-friendly, as it uses simple ingredients you likely already have in your pantry.
- This bread is customizable. Adjust the herbs to your preference or add cheese for an even richer flavor.
Ingredients
- 3 cups all-purpose flour
- 1 ½ teaspoons salt
- ½ teaspoon active dry yeast
- 1 ½ cups warm water (about 110°F or 43°C)
- 2 tablespoons olive oil
- 4 cloves garlic, minced
- 2 tablespoons fresh rosemary, chopped (or 1 tablespoon dried rosemary)
- 2 tablespoons fresh thyme, chopped (or 1 tablespoon dried thyme)
- 1 tablespoon fresh parsley, chopped (optional, for garnish)
- Extra flour for dusting
Let’s dive into the key ingredients that make this Garlic Herb Dutch Oven Bread stand out. The all-purpose flour provides the structure and chewy texture that we all crave in a good bread. For the best results, I recommend using high-quality flour; it makes a noticeable difference in the final texture. If you’re looking for a gluten-free alternative, you can experiment with a gluten-free bread flour mixture.
Salt is essential for flavor enhancement, ensuring that the bread isn’t bland. Make sure to use kosher or sea salt for a more balanced taste. The yeast is what helps the dough rise; without it, you’ll end up with a dense loaf. If you’re out of active dry yeast, you can substitute it with instant yeast—just adjust the amount slightly, as instant yeast is more potent. Lastly, the blend of garlic and fresh herbs like rosemary and thyme adds an aromatic punch that transforms your simple loaf into a gourmet experience.
Step-by-Step Instructions
- In a large mixing bowl, combine 3 cups of all-purpose flour, 1 ½ teaspoons of salt, and ½ teaspoon of active dry yeast. Stir the dry ingredients together using a whisk to ensure even distribution. This should take about 1 minute.
- Gradually add 1 ½ cups of warm water (around 110°F or 43°C) to the dry mixture. Use a wooden spoon or your hands to combine until no dry flour remains. The dough will be quite sticky—don’t worry, this is normal!
- Cover the bowl with plastic wrap or a kitchen towel. Let the dough rise at room temperature for 12-18 hours. You’ll know it’s ready when it has doubled in size and the surface is dotted with bubbles, indicating good fermentation.
- Once the dough has risen, preheat your oven to 450°F (232°C) and place a 6-8 quart Dutch oven with its lid inside to heat for 30 minutes. This step creates a steamy environment for the bread, giving it a perfect crust.
- While the Dutch oven is heating, lightly flour a clean surface and turn the dough out onto it. Sprinkle the minced garlic, chopped rosemary, and thyme onto the dough. Fold the dough over itself several times to incorporate the herbs and garlic evenly. Be gentle; you want to retain some air bubbles.
- Shape the dough into a round loaf. Dust the top with extra flour to prevent sticking and place it on a piece of parchment paper. Let it rest for about 30 minutes while the Dutch oven continues to heat.
- Carefully remove the hot Dutch oven from the oven, and lift the parchment paper to transfer the dough into the pot. Cover with the lid and bake for 30 minutes.
- After 30 minutes, remove the lid and bake for an additional 15-20 minutes until the bread is golden brown and sounds hollow when tapped on the bottom. This will also help achieve that beautiful crust.
- Once done, carefully remove the bread from the Dutch oven using the parchment paper. Allow it to cool on a wire rack for at least 30 minutes before slicing. This cooling period helps set the crumb structure, preventing it from becoming gummy.
Pro Tips for the Best Garlic Herb Dutch Oven Bread
- For optimal flavor, consider letting your dough rise in a warm spot, like near a preheated oven or on top of the refrigerator. This can enhance the fermentation process.
- Ensure your Dutch oven is preheated thoroughly. A cold pot can lead to uneven baking and a less-than-ideal crust. Always check the temperature before adding your dough.
- A common mistake is not allowing the bread to cool completely before slicing. Cutting too soon can lead to a gummy texture, as the steam needs time to escape.
- If you love a crustier loaf, try sprinkling a little water in the Dutch oven just before covering it. This adds extra steam for a crunchier exterior.
- Experiment with the herb ratios based on your taste. If you prefer a stronger garlic flavor, feel free to add more cloves—just keep in mind the balance with the other herbs!
Variations & Serving Ideas
If you want to switch things up, consider these variations:
1. Cheesy Garlic Herb Bread: Add 1 cup of shredded cheese like mozzarella or cheddar to the dough for a gooey, cheesy twist.
2. Spicy Pepper Bread: Incorporate some crushed red pepper flakes for a hint of heat, perfect for those who enjoy a spicy kick.
3. Seasonal Herb Bread: During the summer, swap in fresh basil or dill for a refreshing and fragrant bread, ideal for pairing with salads or grilled meats.
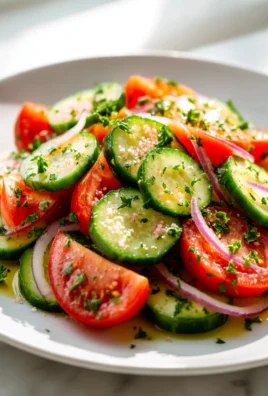
As for serving ideas, this bread pairs wonderfully with a rich tomato basil soup, where the crusty loaf can soak up every last drop. Serve it alongside a hearty salad with vinaigrette to balance out the richness. It also complements grilled meats beautifully—think of a savory herb-marinated chicken or a juicy steak, where the garlic notes in the bread enhance the overall meal experience.
Storage, Make-Ahead & Reheating
To store your Garlic Herb Dutch Oven Bread, wrap it tightly in plastic wrap or store it in an airtight container at room temperature for up to 3 days. It also freezes well—slice the bread before freezing for easy individual servings; just be sure to wrap it tightly in plastic wrap and then in aluminum foil. When you’re ready to enjoy, reheat in the oven at 350°F (175°C) for 10-15 minutes, or until warmed through. Interestingly, this bread often tastes even better the next day as the flavors deepen and the texture firms up, making it ideal for sandwiches or toast!
Frequently Asked Questions
Can I make Garlic Herb Dutch Oven Bread ahead of time?
Yes—this bread can be made ahead of time! In fact, it often tastes better the next day after the flavors have had time to meld. Just store it properly and reheat as needed.
What can I use instead of fresh herbs?
If you don’t have fresh herbs on hand, you can easily substitute dried herbs. Use 1 tablespoon of dried herbs for every 2 tablespoons of fresh herbs called for in the recipe. Adjust according to your taste preference!
Why is my bread dense and heavy?
A dense loaf can occur if your yeast isn’t active or if the dough didn’t rise long enough. Always ensure your yeast is fresh and bubbly when you mix it into the dough. Also, allow sufficient rising time for the best texture.
How do I know when my bread is done baking?
Your bread is done when it turns a golden brown color and sounds hollow when tapped on the bottom. An internal temperature of around 200°F (93°C) also indicates that the bread is fully baked.
Can I add other ingredients to the dough?
Absolutely! Feel free to incorporate ingredients like olives, sun-dried tomatoes, or even nuts for added flavor and texture. Just be mindful of the moisture content, as too many wet ingredients can affect the rise.
Final Thoughts
Garlic Herb Dutch Oven Bread is truly a delight that transforms simple ingredients into a crusty, flavorful loaf that fills your kitchen with an irresistible aroma. The combination of garlic and fresh herbs elevates this bread, making it an extraordinary companion to any meal or a perfect snack on its own.
This is the kind of recipe I come back to again and again, especially when I want to impress guests or enjoy a cozy night in. The satisfaction of pulling a golden-brown loaf from the oven is unmatched. I encourage you to give this recipe a try; it’s not just about the bread, but the joy of creating something delicious. Don’t forget to share your results or put your own twist on it—I’d love to hear about your adventures in baking!

Leave a Comment